DIY Telecaster Deluxe Electric Guitar
This is a relatively old project, going back to the 2020-2021 summer, right after the Covid-19 pandemic. I built this with some of my friends.
There are four main steps to building a guitar: Building the body, neck, electrics, and paint.
The templates used for the construction of the guitar can be found here.
Guitar body construction
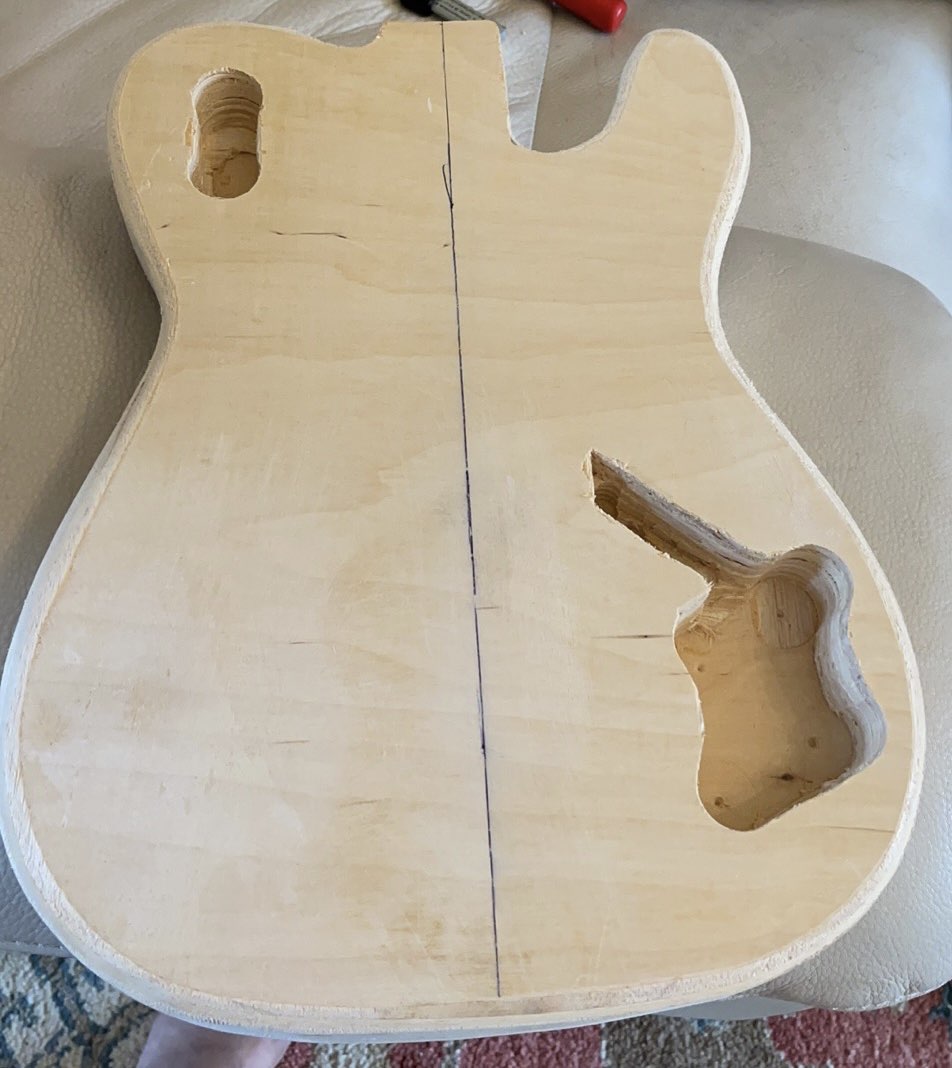
The guitar body was constructed from layers of plywood that were glued together to make a thick block of wood. Normally, this would be done with a single hardwood block of wood, but we found this to be too expensive, so we went with this more budget friendly option.

Once this block of plywood was made, a template was glued to it and it was roughly sawn into the correct shape. After this, we used sandpaper to smooth the edges and get the guitar body shape perfect.
We then had to carve the cavities for the electronics of the guitar. This was done by drilling out the majority of the cavity using a forestner bit, followed by chiselling to clean up the edges and walls of the cavity.
The pickguard is a piece of plastic that goes over the front of the guitar and covers the electronics cavities. We made our pickguard out of cheap plexiglass from Home Depot by tracing a pattern with a sharpie and using a small pull saw to cut it into the correct shape. This broke the fragile plastic once, so we used super glue to reattach the pieces.
Guitar Neck construction
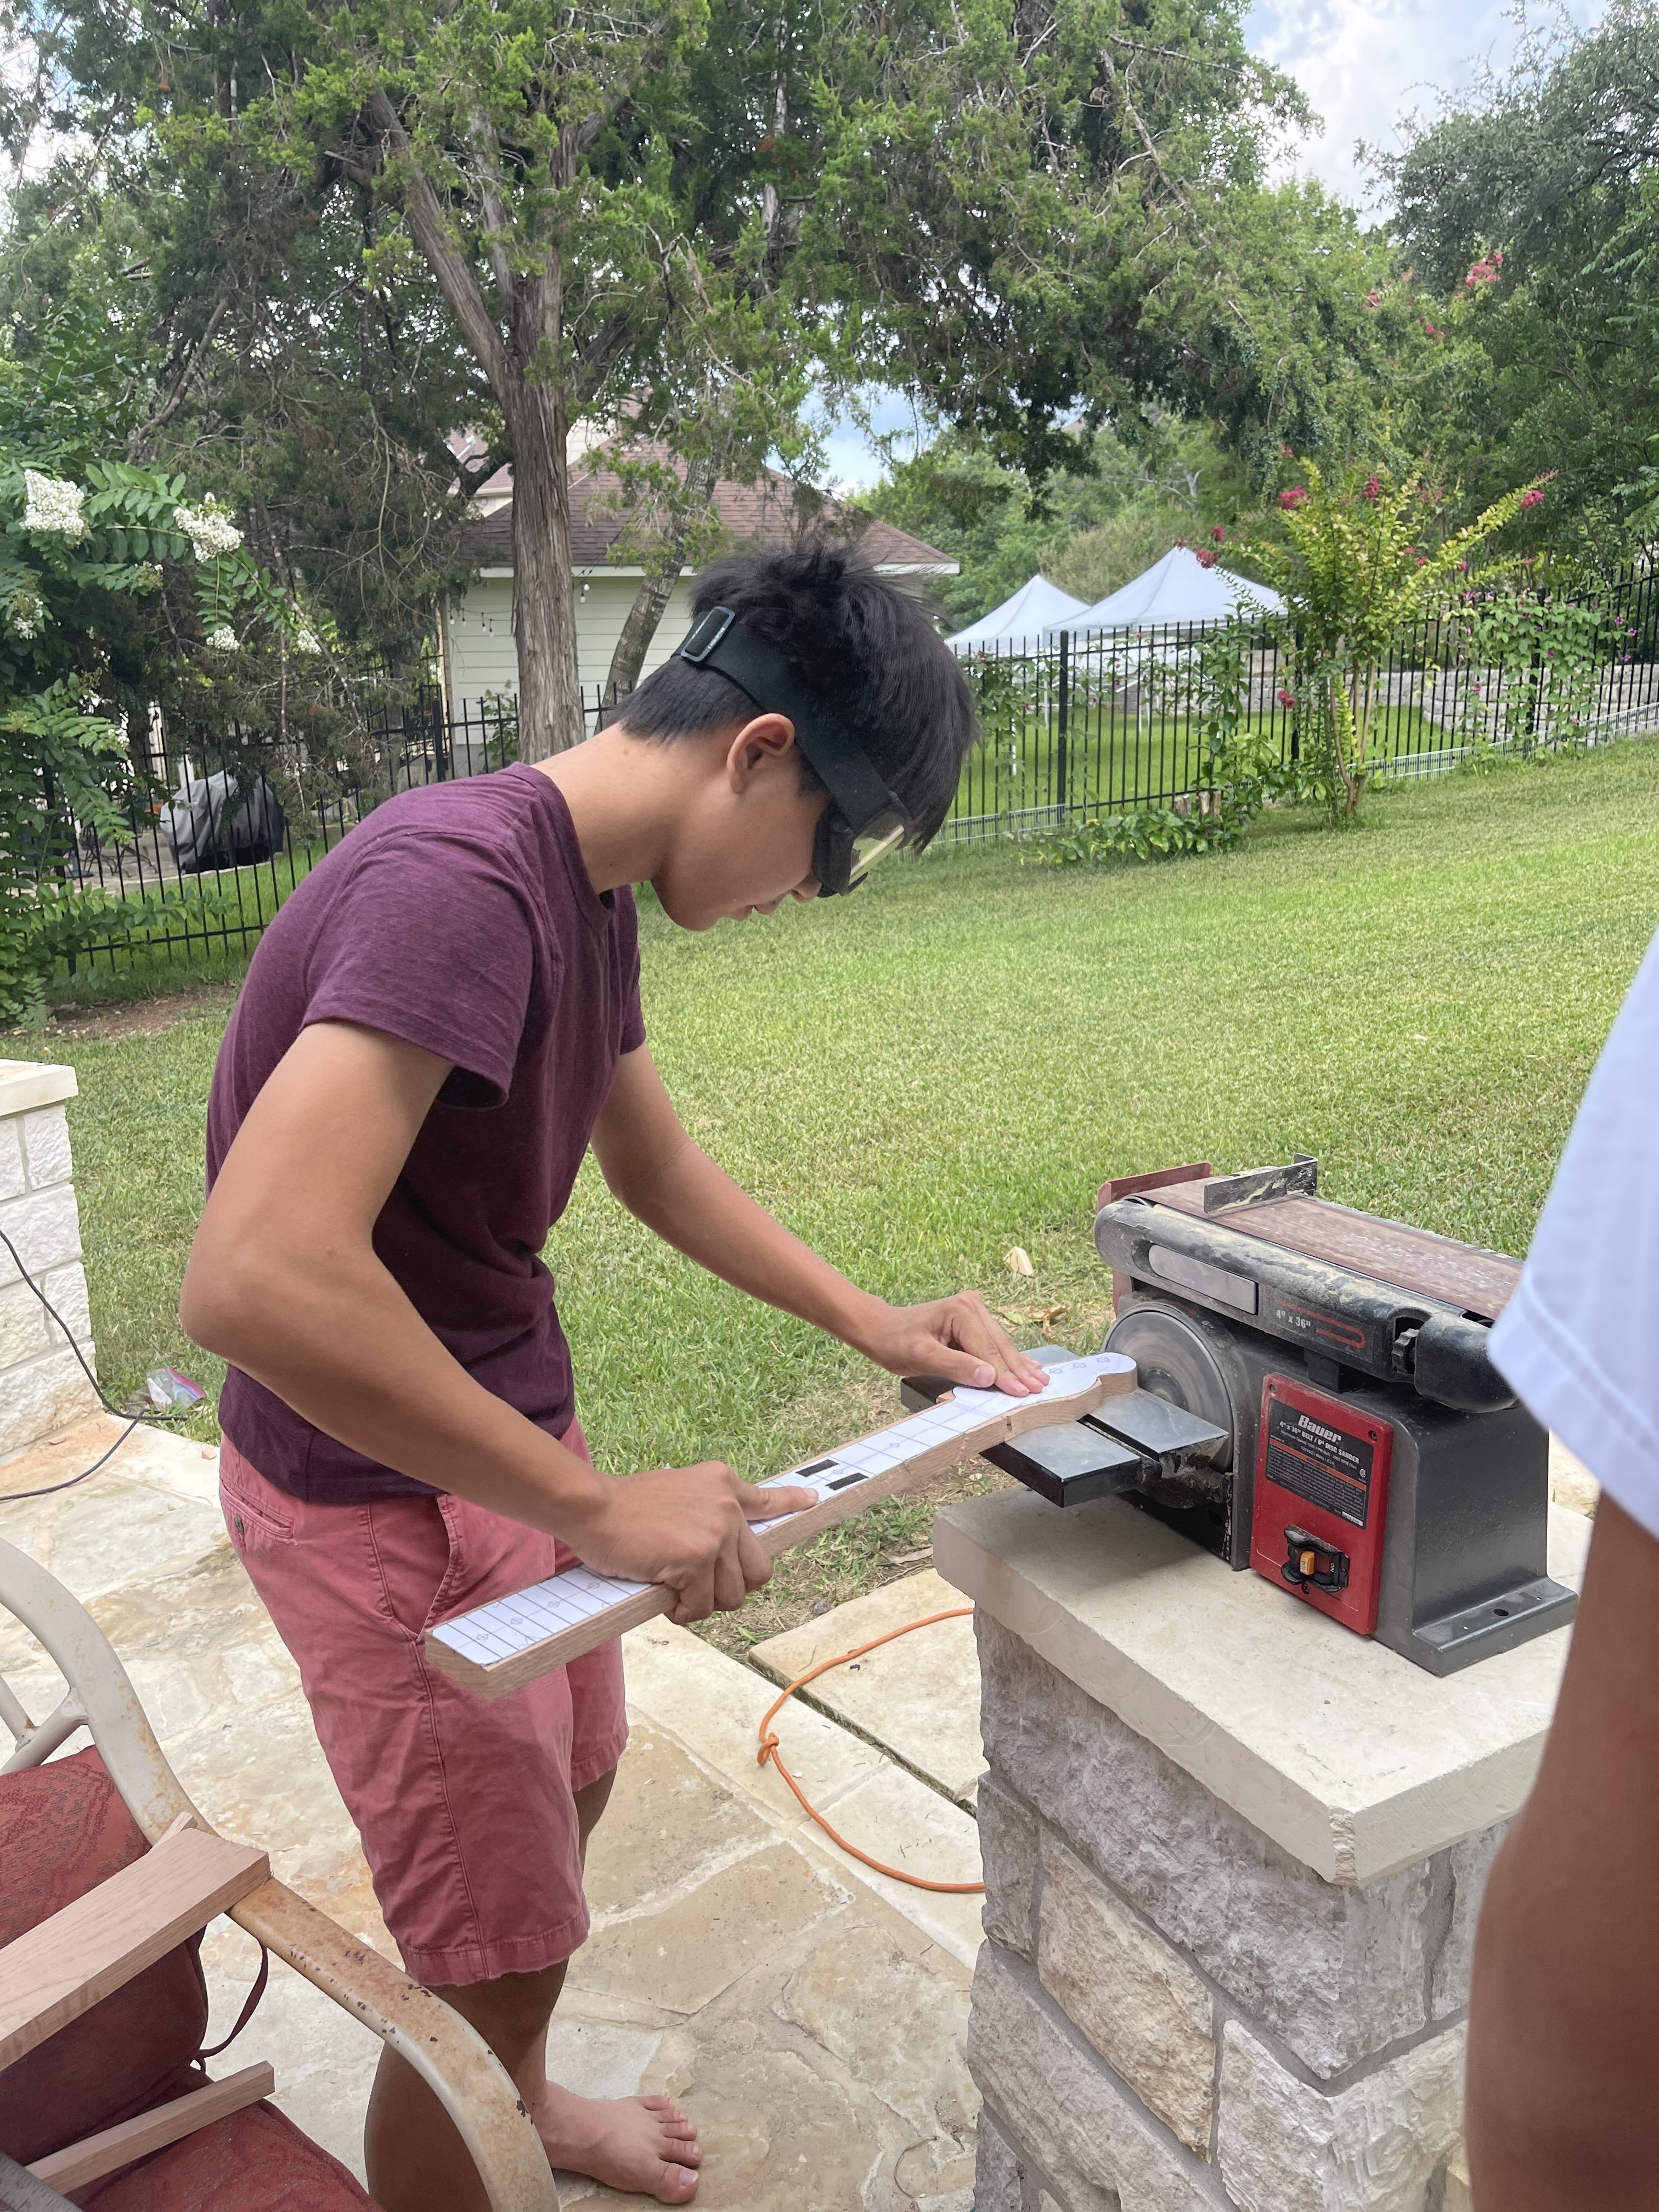
The guitar neck is made out of red oak, which is not exactly ideal due to the porous nature of the wood, but was the cheapest and nicest wood we could find at Home Depot. A template was glued to the plank, and the outline was cut with a jigsaw. A file and sandpaper was then used to smooth out the corners of the guitar neck so that it was comfortable to hold, and holes were drilled for the string tensioners on the head.

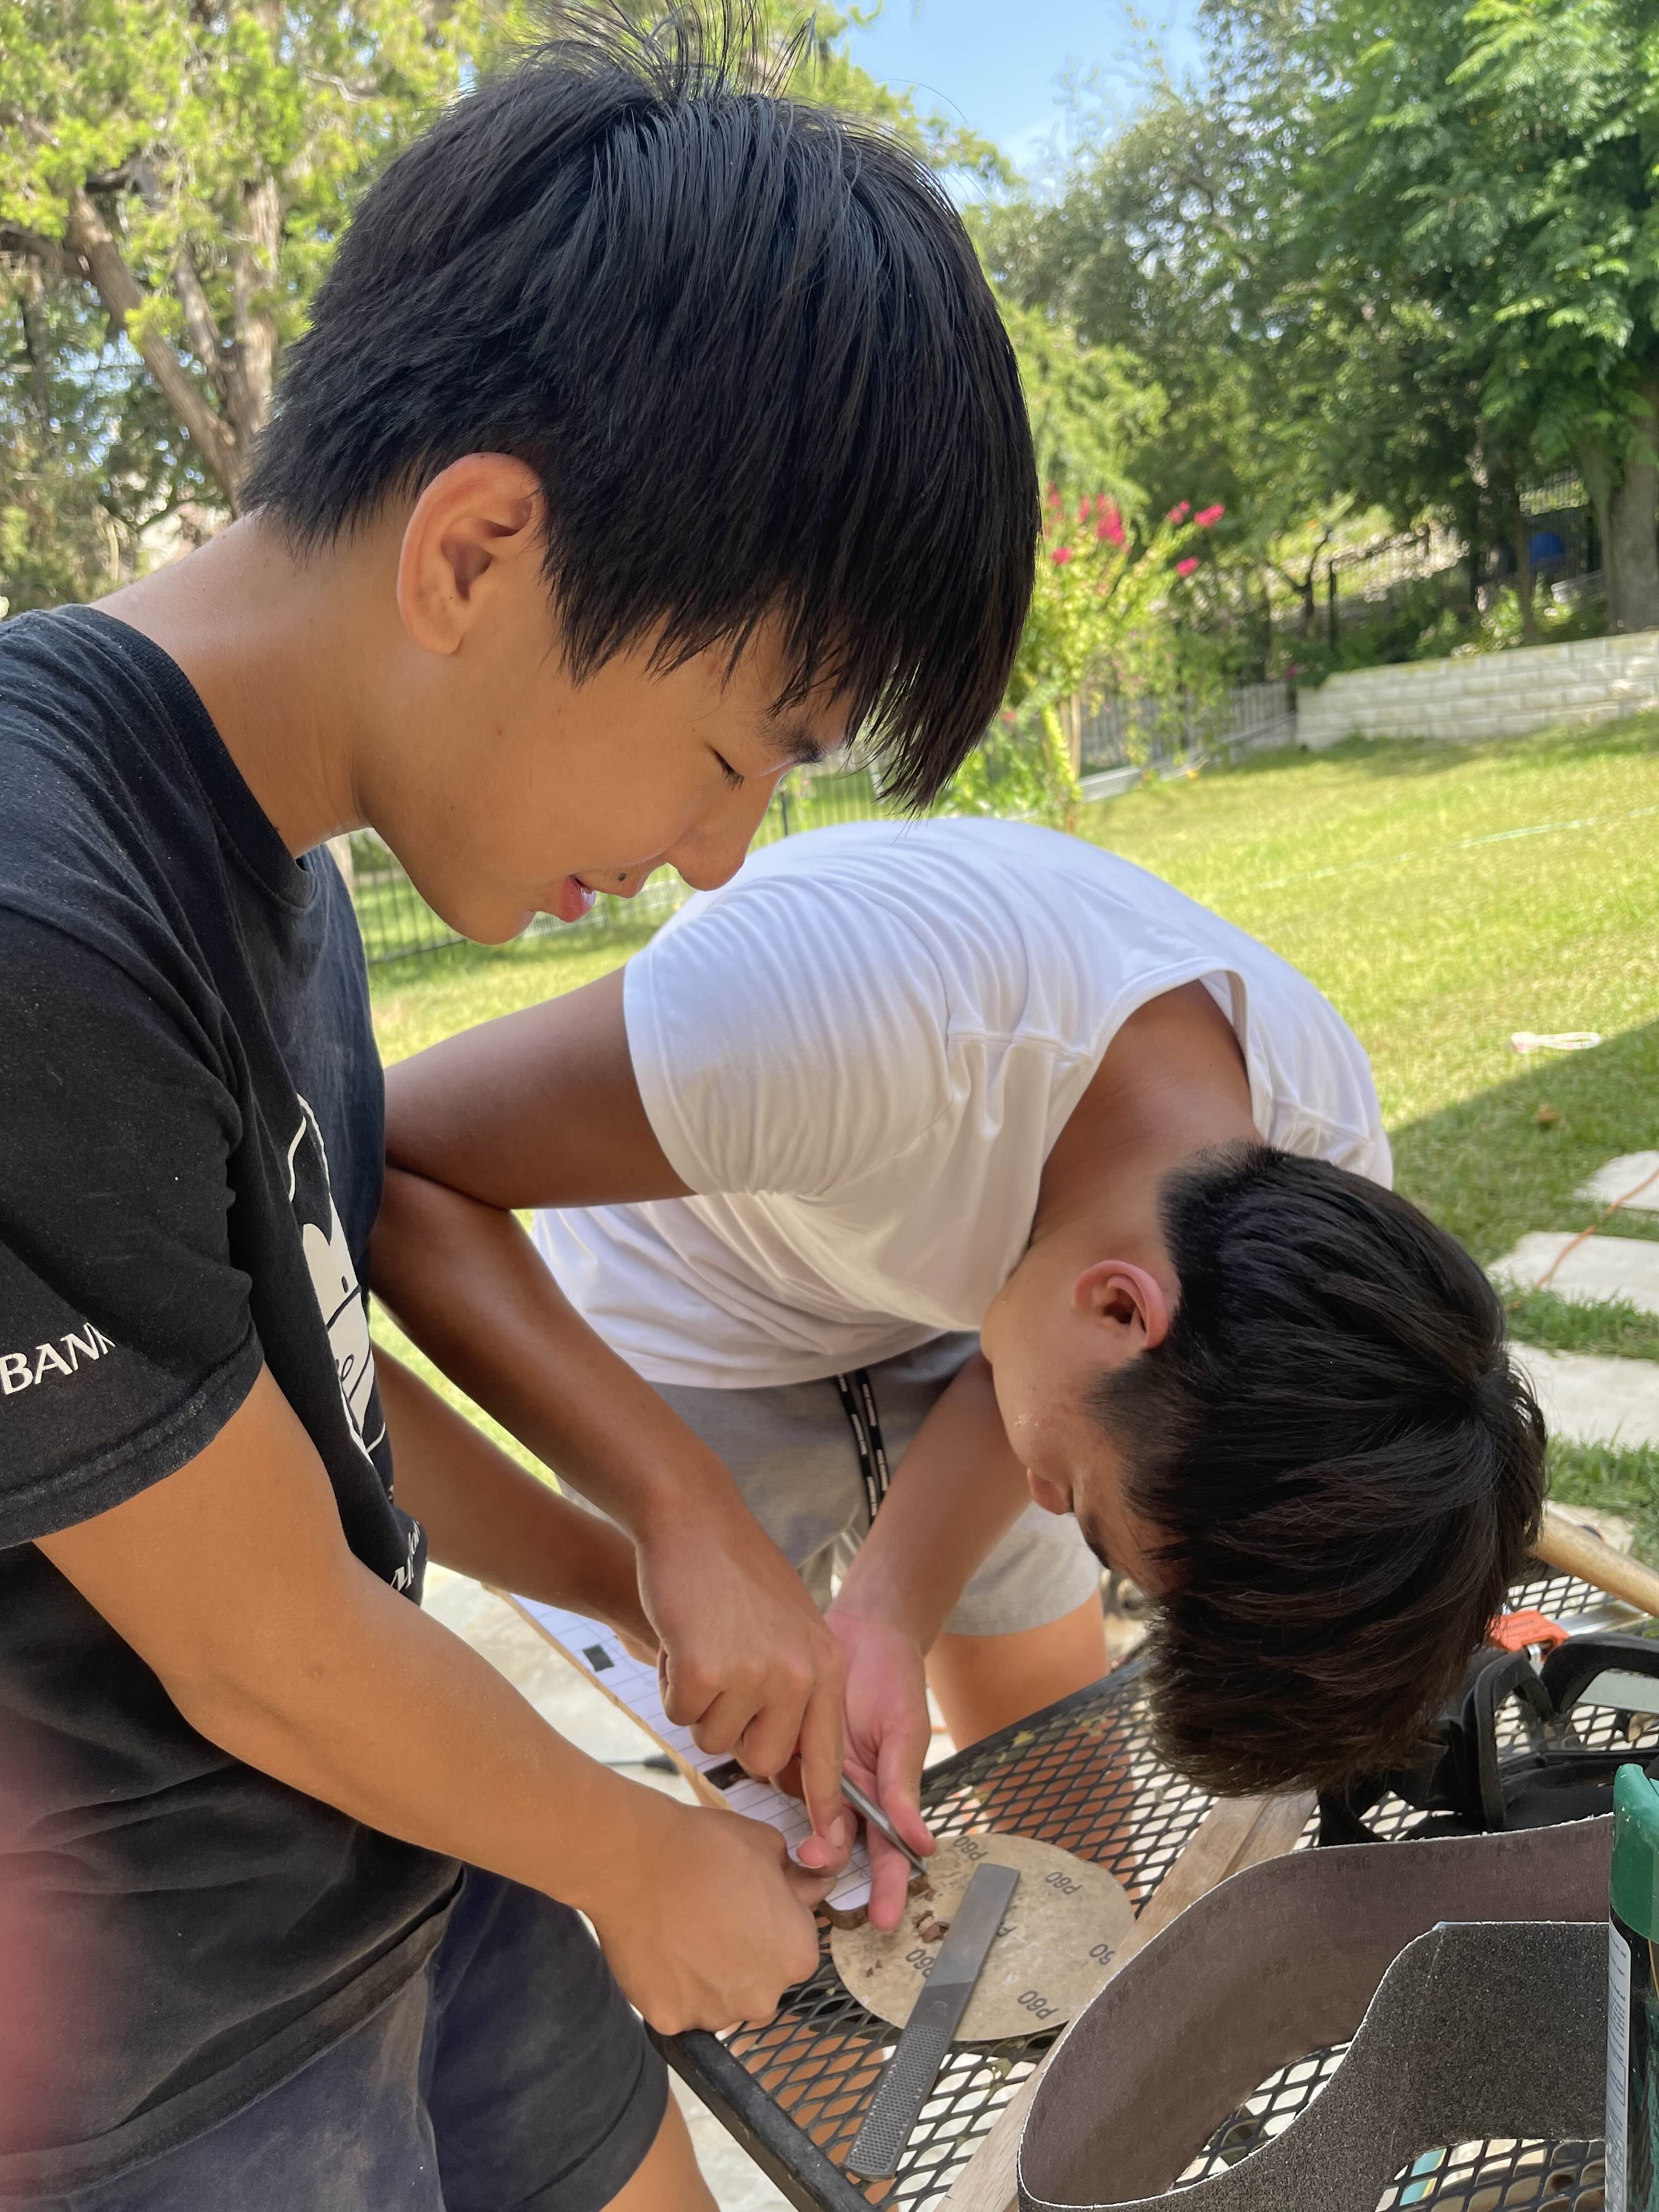
We also made our own fretboard to attach to the guitar neck. It was made from a piece of exotic rosewood. We cut grooves into the rosewood and made a custom sanding block to add a 4.5 inch radius curve on the fretboard. After sanding the fretboard smooth, we hammered metal frets into the grooves and clipped off the edges. These frets also had to be sanded to improve the sound quality, which was done with a specialized fret sanding tool. A piece of artificial ivory was used as the nut bone, and we filed grooves into it to allow the strings to sit neatly.

Guitar Electrics
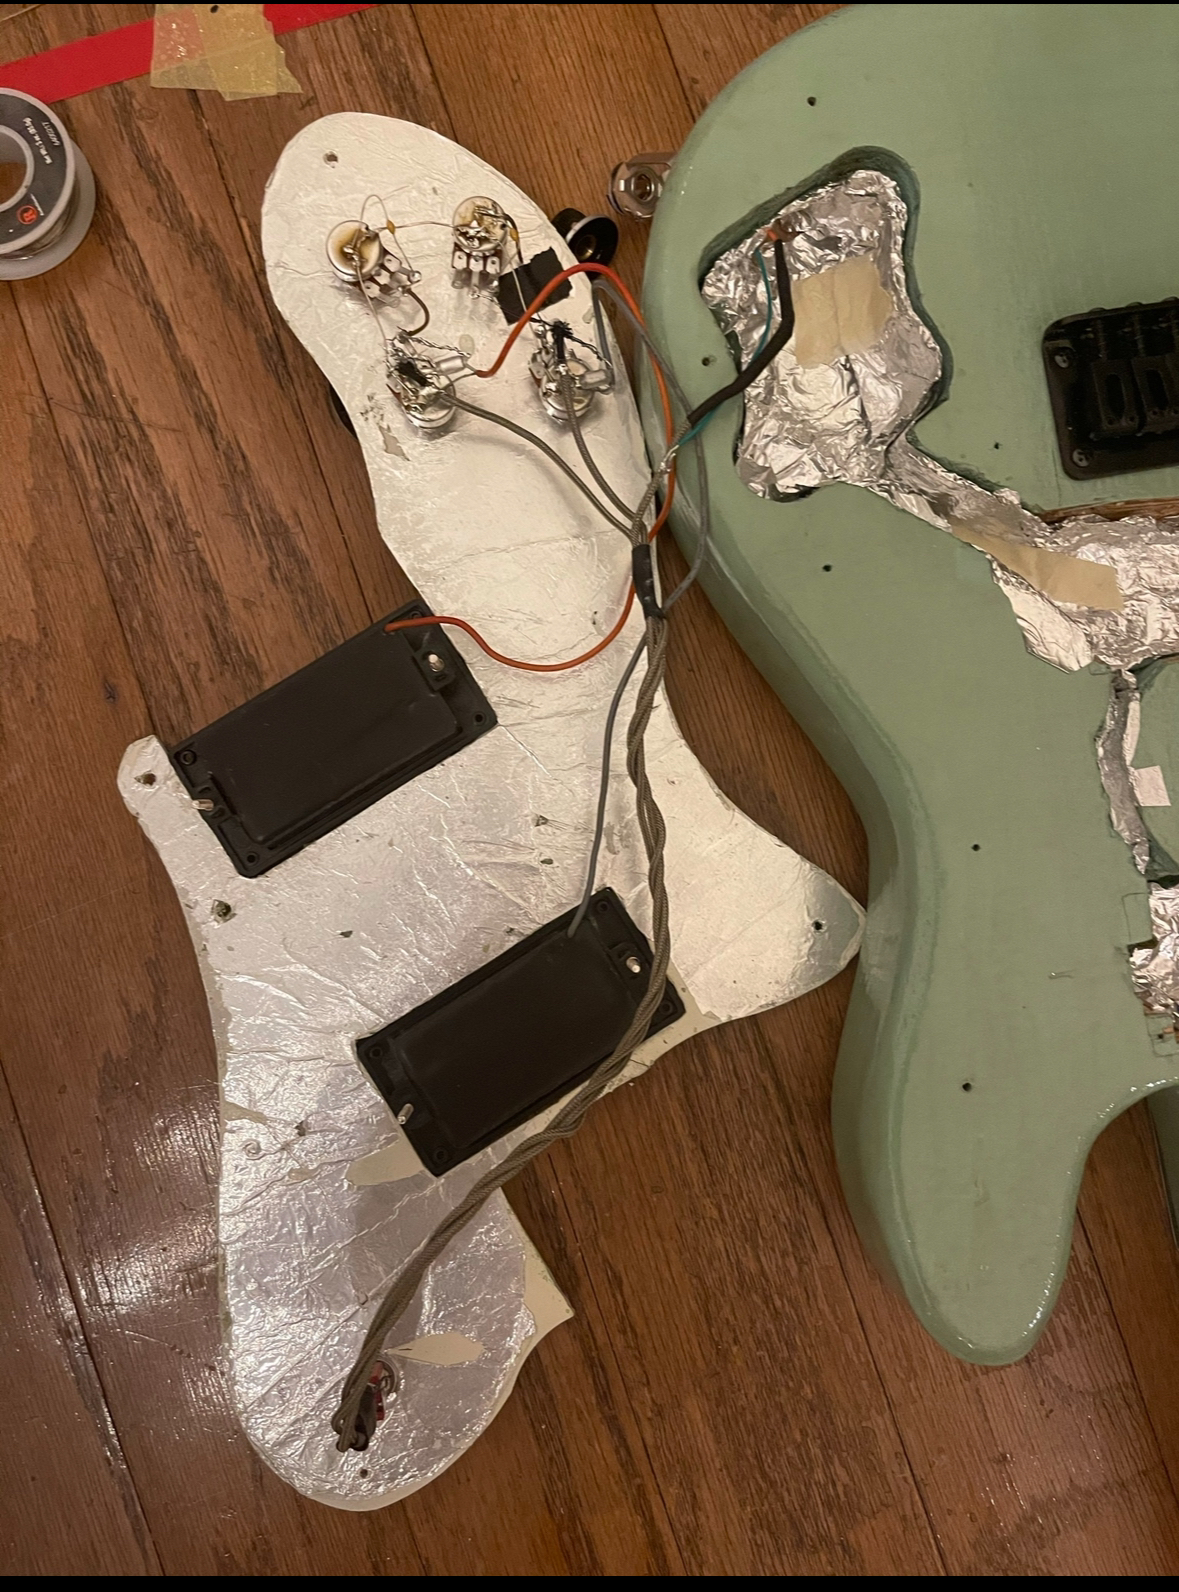
The guitar contains two pickups, which were cheaply ordered off amazon. The guitar electrics allow the user to select either pickup to use, as well as control treble and tone using two potentiometers.
The potentiometers were attached to the pickguard, and soldering was done to create the wire harness.

Paint
The guitar was spray painted with a light blue color, and then sealed with marine varnish to give it a glossy protective finish.
Audio Test
As a forewarning, I do not play the guitar. However, I wanted to see how it sounded, so I learnt some basics. I do not have a guitar amp, so instead this was plugged into the microphone port of a metronome that I found.